What Are Shopify Quantity Breaks?
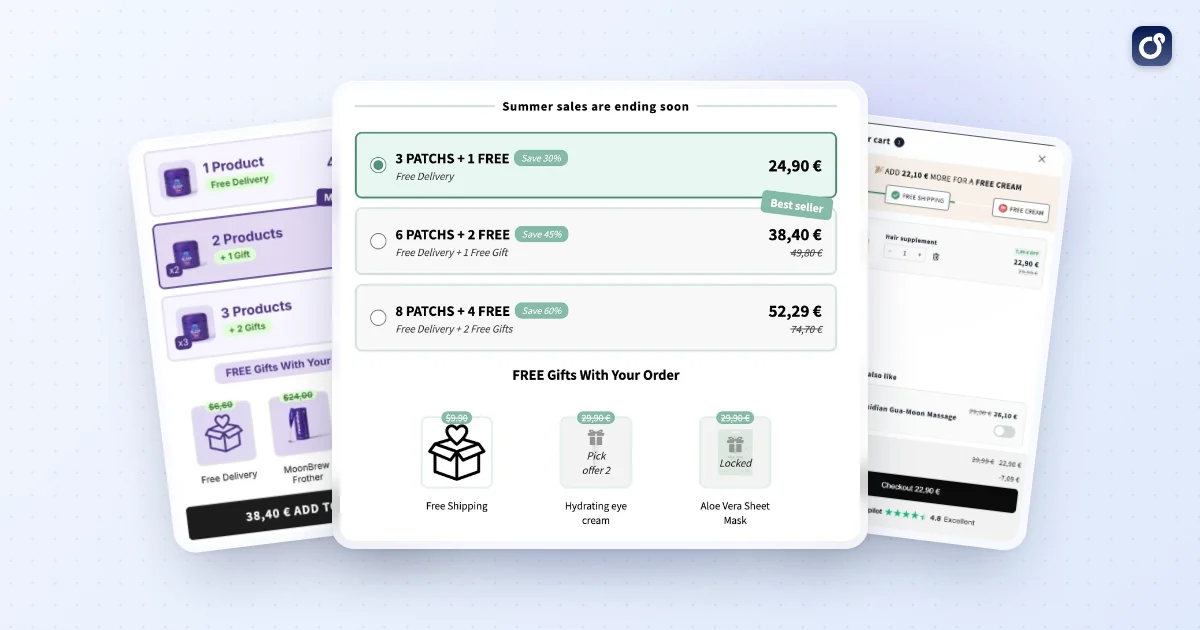
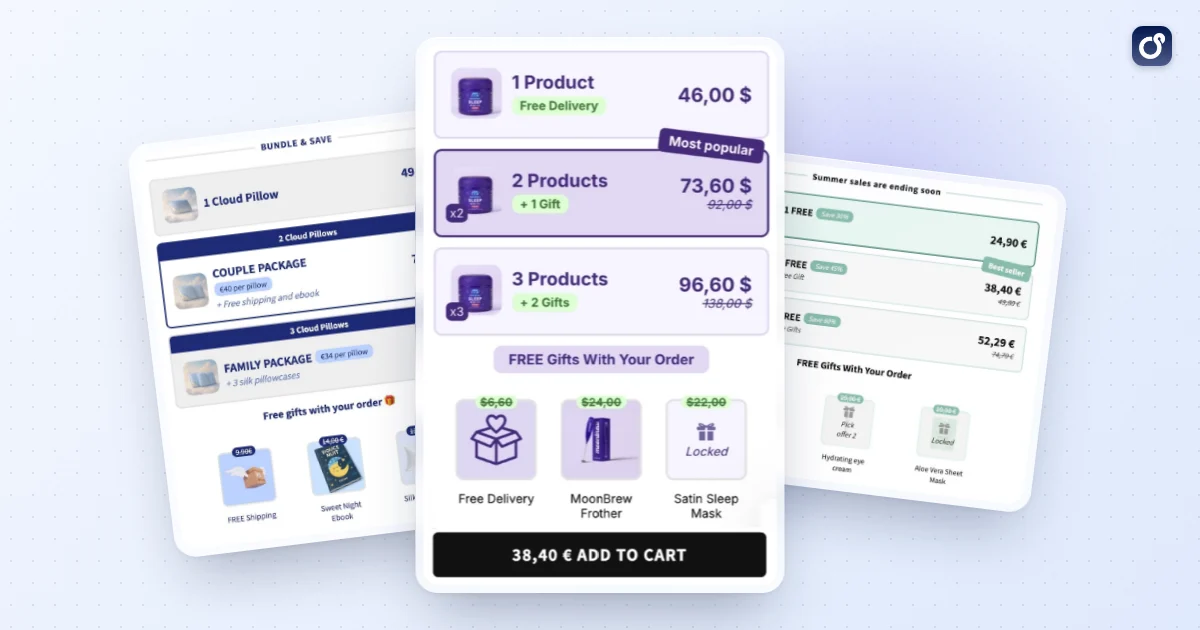
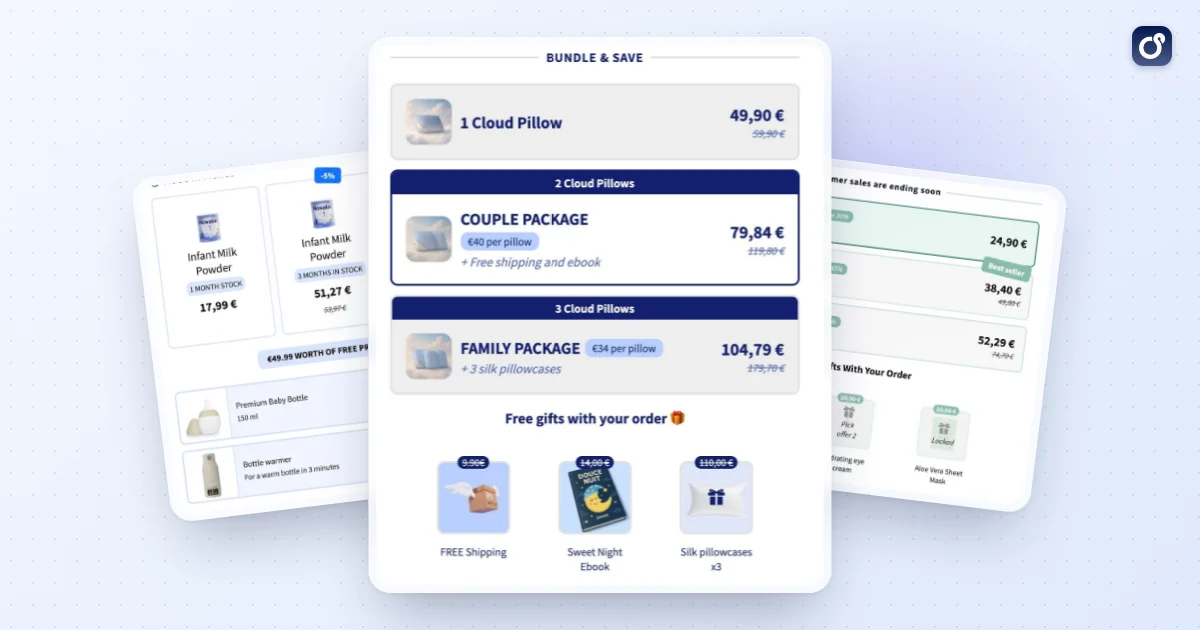
Shopify quantity breaks are volume-based price tiers that lower the price per unit as the quantity in the cart increases. A shopper who sees "Buy 1, Buy 2, Buy 3" options on a product page, each with a better deal, is looking at quantity breaks. You may also see them called volume discounts, bulk pricing or tiered pricing. They all describe the same idea: the more units, the better the unit economics for the buyer.
Common quantity break formats
Most stores use one of four formats:
- Percentage off per tier: for example 10% off at two units and 15% off at three.
- Fixed price per unit: each unit drops to a set price once the quantity threshold is met.
- Fixed total price: a set price for a set quantity, such as a flat price for a pack of three.
- Free gift or free unit at a threshold: an extra item is added when the buyer reaches a quantity.
The format you choose changes how the offer feels. Percentage tiers are easy to understand. Fixed totals are easier to compare at a glance because shoppers see one number instead of doing math.
How they differ from bundles and upsells
Quantity breaks apply to one product (or one product group) bought in larger amounts. Product bundles combine different products into one offer. An upsell suggests an additional or upgraded item. In practice the three work together, but they solve different problems: quantity breaks raise units per order, bundles raise variety per order, and upsells add relevant items after a buying decision is already forming. If you want the bundle side in detail, see how to bundle products on Shopify.
Where the discount is applied
Technically, there are two layers. The first is the display layer: a tier selector or table on the product page that shows shoppers what they can save. The second is the discount logic: the rule that actually changes the price in the cart and at checkout. A good setup keeps both in sync. If the page promises a price that the cart does not honor, trust and conversion drop quickly.
When Should a Shopify Store Use Quantity Breaks?
Quantity breaks work best when buying more than one unit makes sense for the customer. If the extra unit has no use, a discount will not create a reason to buy it.
Products that suit tiered pricing
- Consumables and refills: skincare, supplements, coffee, pet food, cleaning products.
- Products people give or share: candles, accessories, snacks, stationery.
- Low to mid price items: the discount feels meaningful, and the risk of buyer hesitation is low.
- Items with healthy margins: you need room to discount and still earn from the extra unit.
- Products with natural multiples: pairs, sets, sizes for family use, or items that wear out.
Situations where they are a weaker fit
Be cautious with high-ticket products that people buy once, items with thin margins, and products with limited stock. Quantity breaks can also backfire if your regular price already looks like a deal. In those cases, a recommendation-based approach such as a Shopify cart upsell may raise cart value more gracefully than a discount ladder.
Signals that your store is ready
Look at your order data before building anything. Strong signals include repeat customers buying the same item, a large share of orders with a single unit, and a high ad cost per first order that you want to offset with a larger basket. If most orders already contain several units, you may only need to formalize that behavior with a clearer offer.
How to Set Up Shopify Quantity Breaks
The process is the same whether you use native discounts or an app: design the tiers, create the discount logic, display the offer, and test the full path to checkout.
Step 1: Design your tiers around margin
Start with your unit cost and your regular margin. Then decide how much of that margin you can give back at each tier. Keep tiers to two or three steps. More options add choice friction and rarely add revenue.
Here is a hypothetical example for a product that sells at $24 and costs $9 to produce and ship:
| Tier | Price per unit | Order total | Buyer saving | Gross profit per order |
|---|---|---|---|---|
| 1 unit | $24.00 | $24.00 | 0% | $15.00 |
| 2 units | $21.60 | $43.20 | 10% | $25.20 |
| 3 units | $20.40 | $61.20 | 15% | $34.20 |
In this example, each step up gives the customer a visible saving and still increases total profit per order. If a tier reduces profit per order compared with the previous one, it needs rethinking, unless the goal is clearing stock or acquiring customers.
Step 2: Choose how to create the discount
You have three practical paths:
- Native discounts: Shopify's own discount tools can be set up to reward larger quantities. This is simple, but a tier selector on the product page usually needs theme work or an app, and stacking several tiers may be limited. Check what your setup supports before relying on it.
- A quantity break app: apps typically provide a tier editor, a product page widget and discount logic that applies automatically in the cart. This is the most common route for stores that want a polished display.
- Custom development: a developer builds the display in your theme and connects it to discount logic. This gives full control but costs more time to build and maintain.
Whichever path you pick, confirm the requirements with Shopify or the app provider before you commit, because details can change.
Step 3: Show the tiers on the product page
Put the offer where the quantity decision happens, directly under or beside the add-to-cart button. Show the per-unit price, the total price and the saving for each tier. Mobile shoppers should see all tiers without scrolling horizontally.
If the product has variants, decide whether tiers count units of a single variant or any mix. Allowing mix and match (for example three flavors across a total of three units) usually converts better because shoppers do not have to pick one option.
Step 4: Carry the offer into the cart
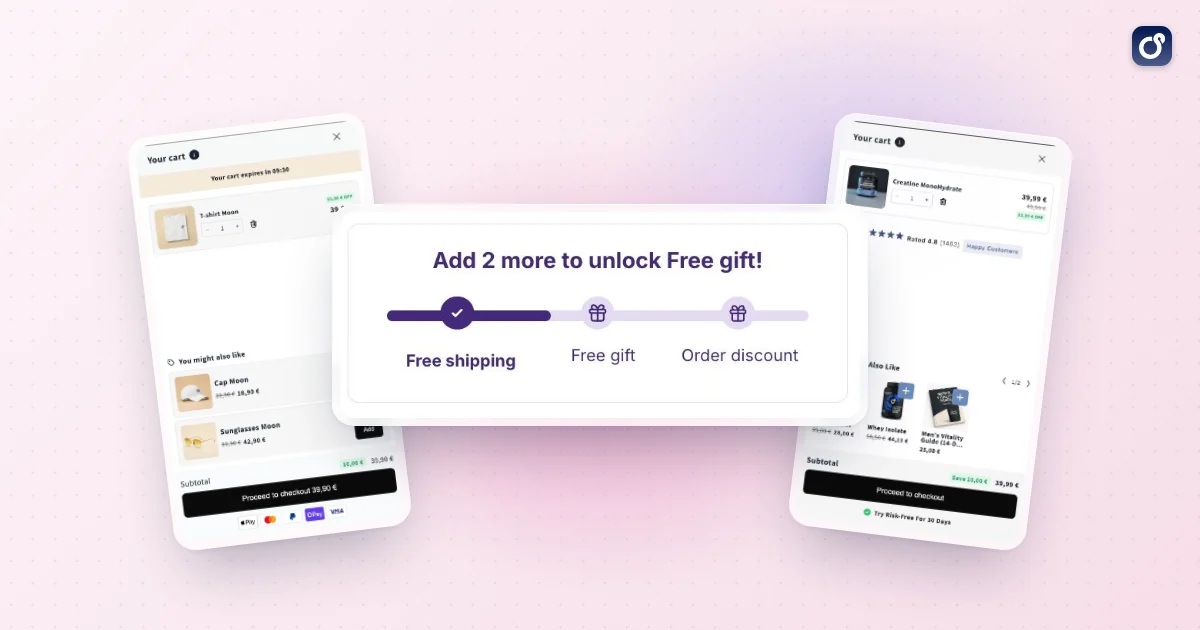
Many themes open a slide-out cart after add-to-cart. Make sure the discount appears there, along with a prompt to unlock the next tier. A well-configured Shopify cart drawer can show the applied saving and a short message like "Add one more to save 15%". That keeps momentum alive between the product page and checkout.
Step 5: Test the full path before launch
Run through these checks on desktop and mobile:
- Add the minimum quantity from the product page and confirm the price changes in the cart drawer and cart page.
- Change quantities inside the cart and confirm tiers update without a page reload, especially with Ajax-based carts.
- Apply a discount code and confirm how it interacts with the tier discount (stacking or exclusion).
- Check each market and currency if you sell internationally.
- Test with variants, subscriptions or selling plans if you use them.
- Confirm that the final price at checkout matches the price promised on the product page.
How to Choose a Quantity Break App
App lists are crowded, and most look similar in screenshots. Compare them on the criteria that affect revenue and maintenance, not on feature counts.
Core criteria to evaluate
- Tier flexibility: percentage, fixed price per unit, fixed total price and free gift options.
- Variant handling: support for mix and match across variants and across products in a group.
- Display control: widget styling, layout choices, labels such as "Most popular", and placement options that fit your theme.
- Cart compatibility: correct behavior in the product page, slide-out cart, cart page and checkout.
- Discount stacking rules: clear control over how tiers interact with codes and other automatic discounts.
- Performance: small impact on page speed, since the widget loads on your most important page.
- Analytics and testing: reporting on revenue, units per order and tier selection, plus the ability to A/B test tier structures.
- Markets and currencies: proper rounding and display for international stores.
- Support and documentation: especially for theme conflicts and custom setups.
Standalone tool or broader toolkit?
If quantity breaks are your only goal, a focused tool may be enough. If you also plan to run bundles, cart upsells and post-purchase offers, a single platform can keep design, logic and reporting consistent. For example, Moon Bundles has a volume discounts module where you set the quantities and the discount for each step, on one product or a whole collection. The discount is applied automatically, the saving is shown on the product page, and a free gift can unlock at the same tier. The same app also covers bundles, free gifts and a cart drawer with post-purchase offers, so you can hold it to the same checklist as any other option.
On pricing, Moon Bundles has a free plan with one module of your choice, and every paid plan includes all four modules and A/B testing across them, with a 7 day free trial. See the pricing page for the current plans.
How to run a fair trial
Install on a duplicate theme or use a preview. Create the same two or three tiers in each candidate. Then check display quality on a real phone, cart behavior with quantity changes, and what the customer sees at checkout. The best app is the one that works cleanly in your theme and gives you data you trust, not necessarily the one with the longest feature list.
How to Optimize Quantity Breaks for CRO and AOV
Launching tiers is the start. The gains come from refining how the offer looks, how it is framed and what you measure.
Design the offer to guide the choice
- Preselect the middle tier if it is your best margin option. Many shoppers accept a sensible default.
- Add a clear label such as "Most popular" or "Best value" to the tier you want to promote.
- Show the total saving in currency, not only in percent. "Save $7.20" is often easier to grasp than "10% off".
- Use a natural tier gap. If shoppers rarely buy three units, a tier at six will not be seen as realistic.
- Keep the copy short. Tier names like "Single", "Duo" and "Trio" can be clearer than long descriptions.
Measure the right metrics
Conversion rate alone can mislead. If tiers reduce conversion slightly but increase units per order, the net effect may still be positive. Track these together:
- Conversion rate on the product page
- Units per order and tier selection mix
- Shopify average order value
- Gross profit per order after discounts
- Return rate and repeat purchase rate on multi-unit orders
Revenue per visitor and profit per visitor are the most reliable summary numbers, because they combine conversion and order value in one figure.
Test one variable at a time
Use a structured A/B test and change only one element per test: the number of tiers, the discount depth, the default selection, the label or the widget position. Let each test run long enough to cover full weekly buying cycles and collect enough orders to separate real change from noise. If your traffic is low, favor bigger changes and longer test windows over many small tweaks.
Combine quantity breaks with other offers
Quantity breaks raise units of one item. Pair them with offers that raise variety and total basket size: a bundle for complementary products, a free shipping threshold set slightly above your typical single-unit order, or a post-purchase upsell after checkout. Keep the stack simple. Too many overlapping offers make the discount logic confusing for shoppers and for your own reporting.
Common mistakes to avoid
- Discounts that are too deep and erase the margin on the extra units.
- Tiers hidden below the fold on mobile product pages.
- Mismatch between the page and the cart, which creates doubt at the worst moment.
- Too many tiers, which slows the decision instead of speeding it up.
- Never revisiting the tiers after costs, ad spend or seasonality change.
Treat your tier structure like any other conversion asset: document the hypothesis, test it, read the profit data and keep the version that earns more per visitor. Over time, small improvements in framing and tier design compound into a steadier lift in order value without relying on constant sitewide sales.
Frequently asked questions
How many quantity break tiers should a store offer?
Two or three tiers is a sensible starting point. More options add choice friction and rarely add revenue. Base each tier on your unit margin, check that profit per order still rises at every step, and add a tier only when order data shows shoppers regularly buying that many units.
Can quantity breaks work with an Ajax cart?
They can, but compatibility depends on the cart, theme, and discount implementation. An Ajax cart updates without a full page reload, so check that quantity changes refresh the discount message, line prices, and cart total correctly. Test adding, removing, and changing item quantities, then confirm the same discount is reflected at checkout. Ask the app provider about compatibility with your specific cart if details are unclear.
How should quantity discounts appear in the cart and checkout?
Show shoppers which quantity tier they have reached and how the discount affects their order total. The cart should update this information when quantities change, and the checkout should display the applicable discount clearly. Test the full journey on desktop and mobile, including cases where shoppers fall below a tier or add other discounts. Clear pricing helps prevent confusion between the product page, cart, and checkout.
How should a store measure quantity break performance?
Track more than average order value. Compare orders using quantity breaks with a relevant baseline, and review units per order, conversion rate, revenue per visitor, discount cost, and gross margin. Segment results by product or offer where possible, since a tier that works for one item may not work for another. Also monitor returns and cart abandonment so a higher basket value does not hide weaker overall performance.
When are bundles or cart upsells a better fit than quantity breaks?
Bundles may be a better fit when customers need complementary products or a ready-made product combination, rather than more units of the same item. Cart upsells can suit recommendations made after a shopper has chosen a product. Quantity breaks are more direct when buying additional units is the behavior you want to encourage. Compare the options based on customer need, product relationship, and the effect on margin.
What should a store check before combining quantity breaks with other discounts?
Check whether the discount rules can be combined and how the store or app handles overlapping offers. Test common scenarios, such as a quantity tier alongside a discount code or an automatic promotion, and verify the final price in the cart and checkout. Do not assume discounts stack in a particular way. Make the rules understandable to shoppers and confirm technical limitations with the relevant provider.